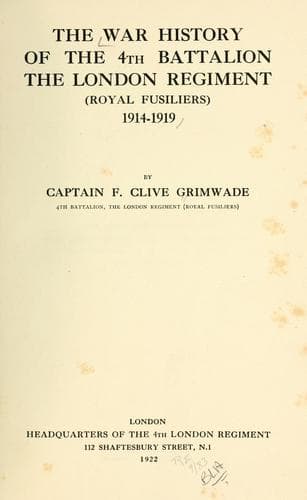
The War History of the 4th Battalion, the London Regiment (Royal Fusiliers), 1914-1919Grimwade, F. Clive
History
The War History of the 4th Battalion, the London Regiment (Royal Fusiliers), 1914-1919
Grimwade, F. Clive
Great Britain. Army. London Regiment. 4th (City of London) Battalion; World War, 1914-1918 -- Regimental histories -- Great Britain
The Marquis line easily held up the advancing enemy after the posts
had gone. On the right the enemy was strongly established in the
Earl line and Viscount Street about fifteen minutes after zero.
Major F. A. Phillips at once gave orders to 2/Lieut. O. C. Hudson,
whose platoon was in the Marquis line astride Ouse Alley, to form
the defensive flank at once. This had been rehearsed previously and
consisted not only in manning the block in Ouse Alley to the front,
but also in Earl to the right, and manning firesteps facing to the
right along Ouse Alley. 2/Lieut. Hudson maintained this position
with great gallantry and inflicted heavy casualties on the enemy,
whom he caught in enfilade as they broke through over Earl to
Viscount Street. The defensive flank was prolonged by Headquarter
details who continued on the firestep in Ouse Alley and held a
block near the Aid Post in South Duke Street.
At about 9.30 a.m. a strong party was seen working up Ouse Alley
from Viscount Street towards Forward Battalion Headquarters.
Major F. A. Phillips at once attacked over the open with about
20 Headquarter details, the men following most gallantly under
heavy fire. The enemy were ejected and a block established in Ouse
Alley towards Viscount Street. A block was established here and
successfully defended with grenades by a party under Sergt. Udall.
In the centre of the Marquis line the attack was not pressed
until the Wood Post Garrison had withdrawn. After this the enemy
gradually built up a large volume of rifle fire from Oppy Wood, but
was prevented from debouching by well-directed rifle and Lewis gun
fire from the Marquis line. Rifle grenades were also used on New
Cut and Baker Street where the enemy had established himself.
On the left of the Marquis line excellent targets were presented on
the left of the Wood, the Lewis gun in the bank (near the junction
of Clarence Trench and Kent Road) doing most excellent work.
During the next three hours the enemy twice broke into the line
near Boyne, but was thrown out, leaving a good many dead in the
trench. Rifle and Lewis gun fire was opened whenever a good target
presented itself, and a large number of dead were seen between Wood
and Beale Trenches.
Later on the enemy broke in on the left from Clarence Trench. The
Lewis gun on the left had finished its ammunition, but reinforced
by a few men, the team ejected the enemy with rifle fire and
grenades.
Thus, at about 11 a.m., the forward troops were holding the Marquis
line beating off attacks to the front and holding a block on the
left. On the right, although the enemy pressure was considerable,
he was held up splendidly in Earl and South Duke Street and in
front and behind in Ouse Alley; the enemy holding Viscount Street
on the right and pushing on towards the Red line.
Public-domain text, read in full here on John Shaqi.
Reviews
Reviews
No reviews yet
Be the first to share your thoughts on this work.
Elsewhere in the archive
Join the Discussion
Join the discussion
Sign in to leave a comment or review.
Sign InorCreate an account