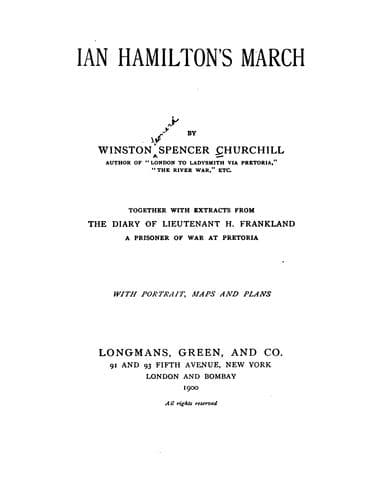
Hamilton, Ian, Sir, 1853-1947; South African War, 1899-1902
I do not want the reader to think that the personal incidents and
adventures described in this book are extraordinary, and beyond the
common lot of those who move unrestricted about the field of war. They
are included in the narrative, not on account of any peculiar or
historic interest, but because this method is the easiest, and, so far
as my wit serves me, the best way of telling the story with due regard
at once to detail and proportion.
In conclusion I must express my obligations to the proprietors of the
_Morning Post_ newspaper for the assistance they have given my
publishers in allowing them to set up the copy as each letter arrived
from the war; to the DUKE OF MARLBOROUGH, to whom I am indebted for the
details of the strength and composition of the force which will be found
in the Appendix, and for much assistance in the attempt to attain
accuracy; and thirdly, to MR. FRANKLAND, whose manly record of the heavy
days he passed as a prisoner in Pretoria may help to make this book
acceptable to the public.
WINSTON SPENCER CHURCHILL.
LONDON:
_September_ 10, 1900.
CONTENTS.
CHAPTER
I. A Roving Commission
II. Exit General Gatacre
III. At Half-Way House
IV. Two Days with Brabazon
V. Two Days with Brabazon--*Continued*
VI. The Dewetsdorp Episode
VII. Ian Hamilton’s March
VIII. Ian Hamilton
IX. The Action of Houtnek
X. The Army of the Right Flank
XI. Lindley
XII. Concerning a Boer Convoy
XIII. Action of Johannesburg
XIV. The Fall of Johannesburg
XV. The Capture Of Pretoria
XVI. "Held By The Enemy"
XVII. Action Of Diamond Hill
APPENDIX
Composition of Lieut.-General Ian Hamilton’s Force
PORTRAIT.
IAN HAMILTON . . . . . . . . . . . . . . . _Frontispiece_
_From the Picture by_ JOHN S. SARGENT, R.A.
MAPS AND PLANS.
Operations in the Orange Free State, April, 1900
Diagram Explaining Hamilton’s Action at Israel’s Poorte, the 25th of
April
Diagram Explaining French’s Operations Round Thabanchu, the 25th and
27th of April
Diagram Explaining the Action of Houtnek
Diagram to Explain the Passage of the Sand River, 10th of May, 1900
Ian Hamilton’s Action at the Sand River, 10th of May, 1900
Ian Hamilton’s Action before Johannesburg
Plan of the Operations of 11th and 12th of June, 1900
Diagram Explaining the Action of Diamond Hill
Map of March from Bloemfontein to Pretoria _At end of book_
IAN HAMILTON’S MARCH
CHAPTER I
A ROVING COMMISSION
In the train near Pieters, Natal: March 31.
Public-domain text, read in full here on John Shaqi.
Reviews
Reviews
No reviews yet
Be the first to share your thoughts on this work.
Join the Discussion
Join the discussion
Sign in to leave a comment or review.
Sign InorCreate an account