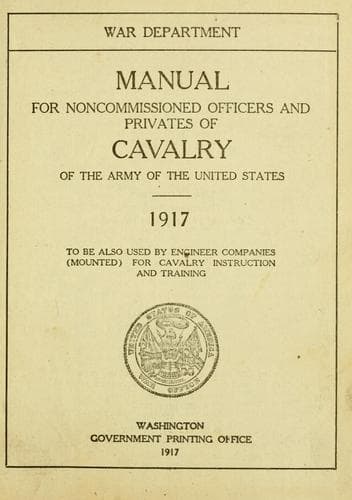
Manual for Noncommissioned Officers and Privates of Cavalry of the Army: of the United States 1917. To be also used by Engineer Companies (Mounted) for Cavalry Instruction and TrainingUnited States. War Department
History
Manual for Noncommissioned Officers and Privates of Cavalry of the Army: of the United States 1917. To be also used by Engineer Companies (Mounted) for Cavalry Instruction and Training
United States. War Department
United States. Army -- Handbooks, manuals, etc.
If the contours are numbered, you have only to look at the numbers to
say where the low and where the high places are; but to read a map
with any speed one must be quite independent of these numbers. In
ordinary map reading look, first of all, for the stream lines. The
streams are the skeleton upon which the whole map is hung. Then pick
out the hilltops and ridges, and you have a body to clothe with all
the details that will be revealed by a close and careful study of what
the map maker has recorded.
As to closed contours, they may outline a depression or a hill On the
map "881" or "885" might be hills or ponds, as far as their shape is
concerned. But, clearly, they are hills, for on either side are small
streams running _away_ from them. If they were ponds, the stream lines
would run _toward_ the closed contours. The test of "hill, valley,
hill," will always solve the problem when there are not enough stream
lines shown to make evident at once whether a closed contour marks a
pond or a hill. Look in the beginning for the stream lines and
valleys, and, by contrast, if for no other reason, the hills and
ridges at once loom up.
To illustrate the subject of contours to aid those who have difficulty
in reading contoured maps the following is suggested:
1. Secure modeling clay and build a mound.
2. Use wire and slice this mound horizontally at equal vertical
intervals into zones; then insert vertical dowels through the mound of
clay.
3. Remove the top zone, place on paper, and draw outline of the bottom
edge. Trim your paper roughly to the outline drawn. Indicate where the
holes made by the dowels pierce the paper.
4. Do the above with each zone of your mound.
5. Place these papers in proper order on dowels similarly placed to
ones in original mound at, say, 1 inch vertical interval apart. A
skeleton mound results.
6. Replace the zones of the clay mound and form the original clay
mound along the side of skeleton mound.
7. Now force all the paper sheets down the dowels onto the bottom
sheet, and we have a map of clay mound with contours.
NOTE.--One-inch or 2-inch planks can be made into any desired form by
the use of dowels and similar procedure followed.
Public-domain text, read in full here on John Shaqi.
Reviews
Reviews
No reviews yet
Be the first to share your thoughts on this work.
Elsewhere in the archive
Join the Discussion
Join the discussion
Sign in to leave a comment or review.
Sign InorCreate an account